
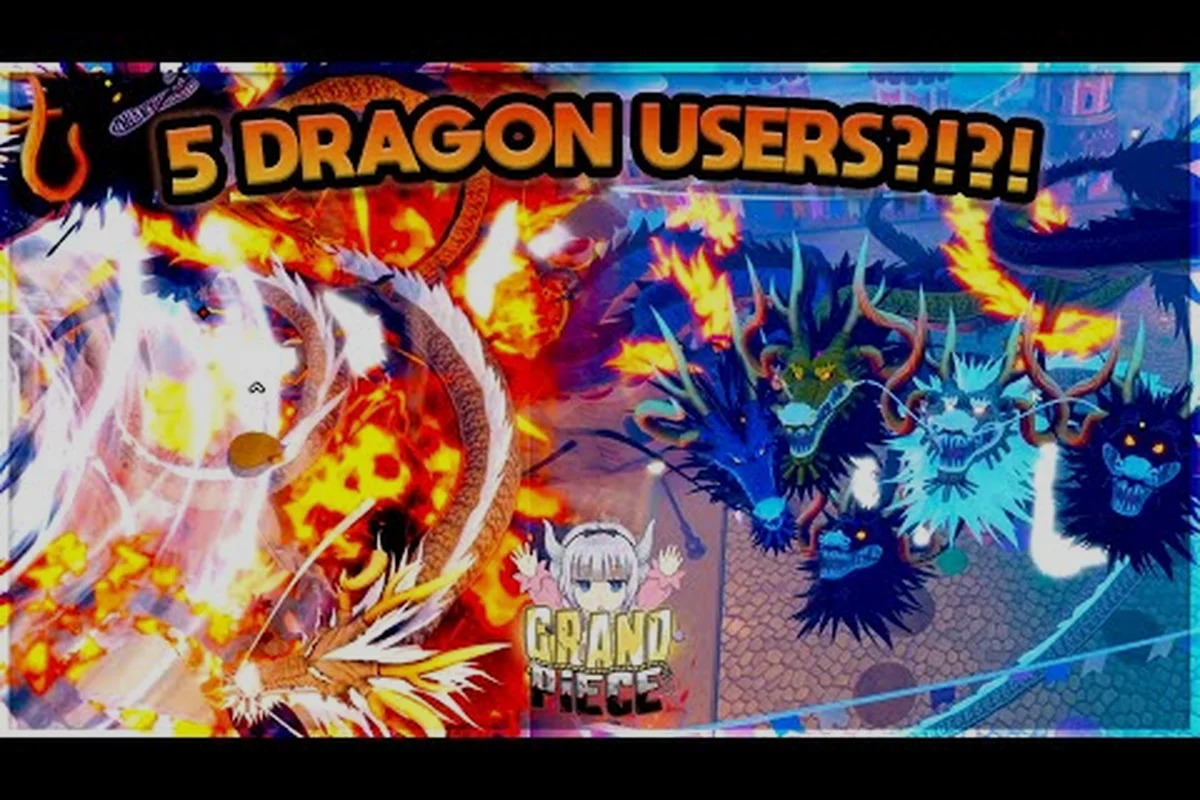
Grand Piece Online raid strategy determines whether your crew walks out of Onigashima with a chest full of legendary rolls or respawns at the dock for the fifth time in a row. The difference almost always comes down to phase awareness, role assignment, and knowing which skills to hold until Kaido opens a punishable window. Because raid enemies scale aggressively and a single missed dodge can wipe a four-person party, planning the run before the gate even opens is the single biggest lever you can pull. According to the official Grand Piece Online Roblox listing, raids sit at the top of the endgame ladder, sitting alongside the current level cap of 675 and Devil Fruit farming as the primary progression goals.
This guide breaks the encounter into the parts that actually matter: where to launch the raid, how to read each Kaido phase, which crew composition handles the transition cleanly, and how to translate the loot table into the gear you actually need. If you have already cleared Onigashima once, the phase notes here will tighten your timing; if you have never set foot inside, the setup checklist will keep your first run from collapsing in the third wave.
Grand Piece Online Raid Locations and Entry Requirements
Before any strategy sticks, your crew needs to physically reach the raid. Grand Piece Online raid locations are limited, and each one has a different power gate, so showing up under-leveled is the most common reason for a wipe. The game currently centers endgame content around two major islands — the colosseum hubs used for farming and the Onigashima Raid island accessed through late-game sea travel — and the official Grand Piece Online page on Roblox describes the loop as moving between islands, completing quests, and pushing into dungeons and raid bosses.
Where to Launch the Onigashima Raid
Onigashima is the headline raid and the only encounter that ends in the Kaido boss fight. Most crews meet at the central port, form a party, then sail to the Onigashima waypoint. Solo runners sometimes teleport directly using a fruit or race passive, but the safest launch is the dock because it lets the raid leader confirm party size and gear before the entry cutscene starts.
Power and Level Gates
Kaido hits like a freight train even at level cap, so the raid functions as a soft power check. Community testing reported by players on the r/GrandPieceOnline subreddit suggests the encounter feels fair around level 500+ with a fully upgraded fighting style, but sub-400 attempts usually stall at the second wave. Bring healing consumables and a Fruit that either buffs damage or grants a reliable escape, because one-shot mechanics appear from phase two onward.
| Raid Location | Recommended Level | Party Size | Key Mechanic |
|---|---|---|---|
| Onigashima (Main Raid) | 500+ | 4 players | Wave clear → Kaido phase transitions |
| Colosseum Farming Hub | 300+ | Solo or 2 players | Daily boss rotation, smaller loot pool |
| Sea Beast Event Island | 200+ | 2–4 players | Timed damage race, no boss phase |
| Dungeon Trial Rooms | 150+ | Solo | Mini-boss practice, gear leveling |
Grand Piece Online Raid Boss Drops and Loot Tables
Grand Piece Online raid boss drops are the real reason crews grind the same encounter dozens of times. The chest at the end of a successful Kaido clear can roll fruits, weapons, accessories, and raid-exclusive cosmetics, and the per-phase mini-bosses drop materials that feed into crafting. Knowing which drop comes from which phase lets you decide whether to spend your run on a full clear or to reset for a specific roll.
Loot by Phase
Each phase of the Onigashima raid has its own drop table, and the closer you get to Kaido, the higher the average rarity. Phase 1 enemies lean toward upgrade materials and common fruits, while the final chest skews legendary. The community-compiled data on the Grand Piece Online subreddit shows that the most consistent legendary rolls come from completing all waves with the full party alive, which is why survivability gear is worth more than raw damage for most roles.
| Phase | Common Drops | Rare Drops | Notable Use |
|---|---|---|---|
| Wave 1–2 Mobs | Beli, common materials | N/A | Stockpile for crafting |
| Mini-Boss Checkpoints | Uncommon fruits, style tokens | Epic accessories | Slot upgrades, mid-run gear |
| Kaido Phase 1 | Epic weapons, raid chests | Legendary fruit chance | Damage rolls, sell value |
| Kaido Phase 2–3 | Mythic materials, raid cosmetics | Guaranteed legendary chest | Endgame gear, trading stock |
| Final Clear Bonus | Bonus chest (party-wide) | Random mythic roll | One-per-run jackpot |
Translating Drops into Progression
A legendary fruit is not automatically a win if your build cannot use it. The smarter move is to compare the drop to your current loadout before the run ends. If you already own a top-tier damage fruit, a defensive accessory from the checkpoint chest might serve you better than a duplicate. Most crews run a quick "who needs what" callout before starting so the post-raid trading does not turn into a five-minute argument at the dock.
Grand Piece Online Dungeons and Raids: How They Differ
New players often conflate dungeons and raids because both sit in the endgame loop, but the systems are tuned for very different play styles. Grand Piece Online dungeons and raids share the same stat scaling, yet the encounter design, time pressure, and reward ceilings diverge sharply. Understanding that split is what lets you pick the right content for the time you actually have.
Encounter Structure
Dungeons are designed for solo or duo play and focus on mechanical execution. Each dungeon has a small number of tough enemies, a clear mini-boss, and a final boss that you can learn in a handful of runs. The dungeon drops are consistent but capped — you will not see mythic rolls from a dungeon clear.
Raids flip that model. They are built for four-player crews, and the challenge comes from wave management and phase transitions rather than raw mechanical difficulty. A solo player can technically clear some raid content, but community reports on the Grand Quest Games Discord note that solo Kaido clears are rare and usually require a fully mythic-geared runner. For most players, the raid is a coordinated group event and the dungeon is a solo training ground.
| Aspect | Dungeons | Raids |
|---|---|---|
| Recommended Players | 1–2 | 4 |
| Encounter Length | 5–10 minutes | 20–35 minutes |
| Skill Ceiling | Mechanical execution | Coordination + mechanics |
| Best Drop Tier | Epic | Legendary / Mythic |
| Reset Value | High for farming | High for jackpot rolls |
| Risk of Total Wipe | Low | Moderate to high |
When to Switch From Dungeons to Raids
The transition point is usually around the time your dungeon runs start feeling routine. If you can clear a full dungeon without dying and your inventory is full of epic rolls, the marginal gains from another dungeon run are small. That is the moment to start practicing raid waves with a regular crew. Skipping that ramp and jumping straight into Onigashima is the fastest way to burn through your consumable stockpile.
Grand Piece Online Best Dungeon Choices for Raid Prep
Picking the best dungeon as a raid warmup is more strategic than it sounds. Some dungeons train the exact mechanics that show up in Kaido's later phases, while others just give generic loot. If your crew is failing a specific phase, running a dungeon that simulates that phase is faster than wiping in the raid and losing a chest.
Dungeon-to-Phase Mapping
Each dungeon emphasizes a different defensive or offensive skill, and matching the dungeon to your weak phase cuts the learning curve. Players on the official community Discord have mapped a few of these pairings based on hundreds of clears, and the pattern holds across most crew compositions.
| Weak Raid Phase | Best Practice Dungeon | Skill Trained |
|---|---|---|
| Wave clear speed | Colosseum Trials | AoE damage, mobility |
| Mini-boss burst | Hidden Fortress Run | Burst windows, i-frames |
| Kaido Phase 1 | Flame Temple | Stamina management, positioning |
| Kaido Phase 2 enrage | Frost Ruins | Defensive cooldowns, kiting |
| Final phase cleanup | Sky Island Dungeon | Target switching, finishing blows |
The Solo Kaido Angle
Some experienced players skip the dungeon warmup and go straight to a solo Kaido run. The dedicated solo Kaido dungeon guide covers the timing windows and fruit swaps that make this viable, but the short version is that you need a mythic-tier build, a healing fruit in the second slot, and a route that skips the slow waves. Most crews will get a faster clear by running the full raid with a party, so treat solo Kaido as a personal challenge rather than the optimal farming path.
Grand Piece Online Raid Crew Composition and Role Rotation
Your raid crew is the single biggest variable in clear time, and the difference between a stacked party and a random lobby is usually two to three phases. Grand Piece Online raid crew building is less about raw power and more about covering each role so every phase has a dedicated answer. A balanced four-person crew can out-DPS a stronger but uncoordinated group because nobody has to cover for someone else's mistake.
The Four Core Roles
Most successful crews settle into four loosely defined roles, and rotating those roles across phases keeps everyone engaged and prevents burnout on long runs. The Grand Piece Online raid team guide goes deeper on individual player builds, but the role framework below is enough to assemble a first crew.
| Role | Primary Job | Best Trait | Phase Focus |
|---|---|---|---|
| Vanguard | Tank front damage, hold aggro | High HP, defense fruit | Waves 1–2, Kaido P1 |
| Striker | Burst damage on phase shifts | High damage fruit, sword main | Mini-bosses, Kaido P2 |
| Support | Healing, crowd control, revives | Healing fruit, mobility | All phases, clutch saves |
| Skirmisher | Cleanup, flank, add control | AoE fruit, fast fighting style | Wave mobs, final phase |
Rotation Rules That Actually Work
The simplest rule is to swap the Vanguard and Skirmisher every two waves. The Vanguard role is high stress because you eat every big hit, and the Skirmisher role is high boredom because you mop up adds. Trading those roles halfway through keeps both players sharp for the Kaido transition, which is the part that punishes fatigue the hardest.
For the Striker and Support, the rotation is more situational. The Support should hold position unless the Striker is one-shot, at which point the Support swaps to offense and the previous Skirmisher rotates in to heal. This is the kind of decision that looks chaotic on paper but flows naturally once the crew has run together three or four times.
Onigashima Phase Counters and Skill Timing
Phase counters are the heart of any Grand Piece Online raid strategy, because every transition changes the safe windows and the priority targets. Kaido's phase design punishes crews that try to brute-force the damage race, and rewards crews that wait for the punishable animation before committing cooldowns. The notes below are the consistent patterns reported by clearers on the Grand Quest Games Discord, cross-checked against the official encounter description on the Roblox game page.
Phase 1: Establishing the Rhythm
Kaido opens with a slow, telegraphed attack pattern that lets the Vanguard set the tempo. The main job in this phase is to learn the timing — every big swing has a tell, and the recovery animation is your damage window. Support should hold healing cooldowns here because the incoming damage is predictable, and the Striker should save their burst fruit for the phase two transition.
Phase 2: Enrage and Adds
Around 60% HP, Kaido shifts into a faster combo and starts spawning adds. This is the phase that wipes under-prepared crews because the Vanguard tries to hold aggro on the boss while adds chip the Support from behind. The correct response is for the Skirmisher to peel off and clear adds for ten to fifteen seconds, then re-engage the boss once the wave is gone. Healing cooldowns should be active by the midpoint of this phase because the enrage tick damage starts ramping.
Phase 3: Burst or Reset
Below 30% HP, Kaido enters a long recovery animation between major attacks. This is the all-in window. The Striker dumps every cooldown, the Vanguard throws a defensive fruit or style buff on the Striker, and the Support chains heals to keep the Striker alive. If the burst fails to close the fight, the crew is usually out of resources and the safer call is to reset and re-enter rather than drag out a slow clear.
| Phase | HP Threshold | Crew Priority | Common Mistake |
|---|---|---|---|
| Phase 1 | 100%–60% | Learn tells, conserve cooldowns | Burning burst too early |
| Phase 2 | 60%–30% | Clear adds, manage enrage | Ignoring add pressure on Support |
| Phase 3 | 30%–0% | All-in burst, chain heals | Overextending without a reset plan |
Frequently Asked Questions
What is the best dungeon to farm before attempting Onigashima?
The Frost Ruins dungeon is the best prep because it trains the kiting and cooldown management you need for Kaido's enrage phase. Running it two or three times with a suboptimal build teaches the same timing windows you will hit in the raid, and the epic drops cover any gear gaps before the big run.
How often do raid boss drops include legendary fruits?
Community data on the r/GrandPieceOnline subreddit suggests a legendary fruit appears in roughly one out of every four to five full clears when the entire party survives. Individual phase chests have a much lower rate, which is why crews push for the final bonus chest instead of resetting after the mini-boss.
Can I clear the Onigashima raid solo?
Yes, but only with a mythic-tier build and a practiced route. The dedicated solo Kaido dungeon guide breaks down the consumable loadout and skip paths that make a solo clear possible. Expect the run to take 30+ minutes and to require multiple attempts before the timing clicks.
What is the ideal crew size for a first raid run?
Four players is the standard, and you should avoid going below three because the add pressure in phase two becomes unmanageable. For your first run, prioritize friends who can fill the Support and Vanguard roles reliably, even if their damage is lower, because a stable frontline matters more than raw DPS until your crew learns the phases.
Where can I find the latest raid updates and patch notes?
The Grand Quest Games Discord and the official Roblox page both post patch notes within hours of an update, and the r/GrandPieceOnline subreddit breaks down the practical impact of each change. Check the Discord before a scheduled run so you are not surprised by a phase nerf or a drop table adjustment.